

Heating a lab flask: heat sources, boiling granules and limits

Separate containment, heat input and boiling control.
- Understand why flask shape, a heater setting or boiling granules cannot establish safe conditions alone.
A flask contains the mixture. A heat source transfers energy to it. A prescribed boiling aid can help bubbles form more steadily. The flask, heater and boiling aid each need to suit the liquid and the heating method.
The trainer chooses the actual vessel, mixture, heat source, support and operating limits. This guide explains the decisions behind that choice, not a recipe for heating an unknown liquid.
Recognise the vessel before choosing the heat
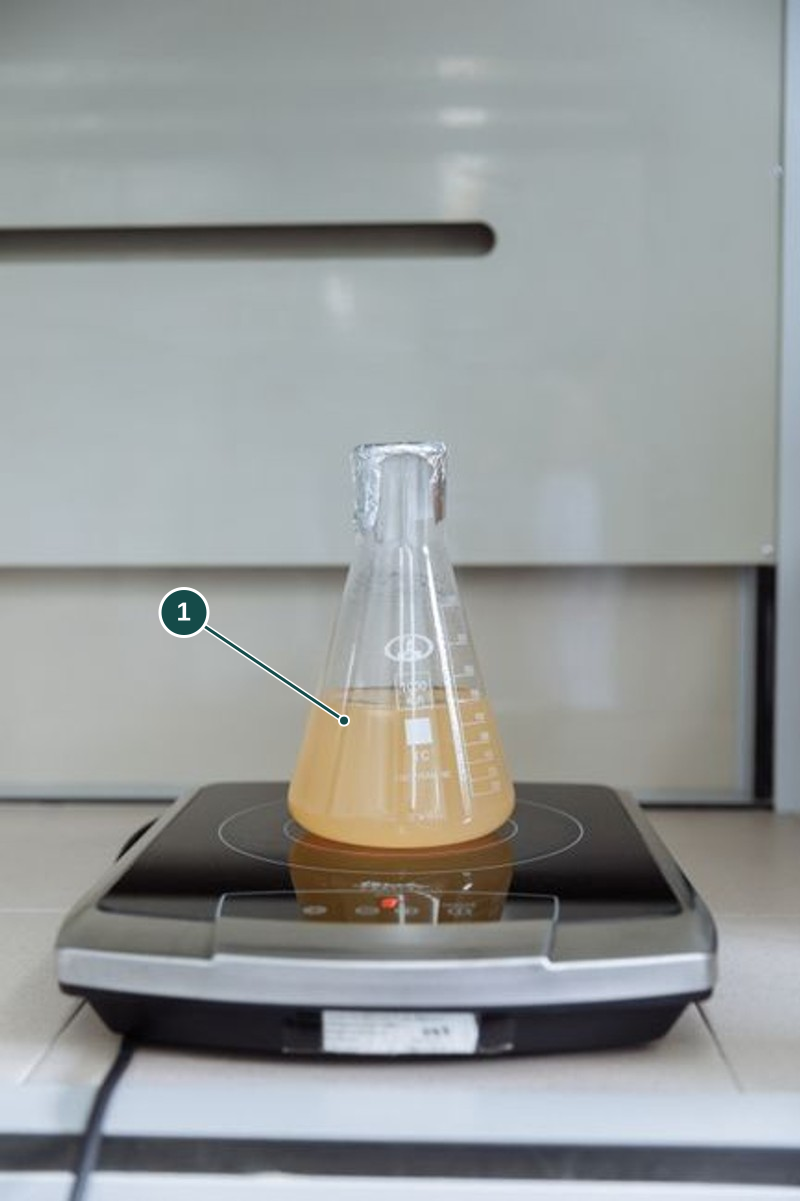
- Conical flask. Holds the mixture. Its shape alone cannot tell you whether it is safe to heat.
Stock photograph for illustration by Thirdman on Pexels. We have not verified what is in the flask, what glass it is made from or whether the device below it is a heater. Follow the lesson's heating instructions.
DWK's glassware-care guidance explains the need to avoid sudden temperature changes and uneven heating. Use the actual product's instructions. Do not transfer a temperature limit between vessels because their shapes or trade names appear similar.
Inspect the supplied vessel and have the trainer check its support. Leave the prescribed space for the operation and do not add extra mixture to make an observation easier to see. Inspect the flask you will use; a photo cannot show whether that flask is damaged.